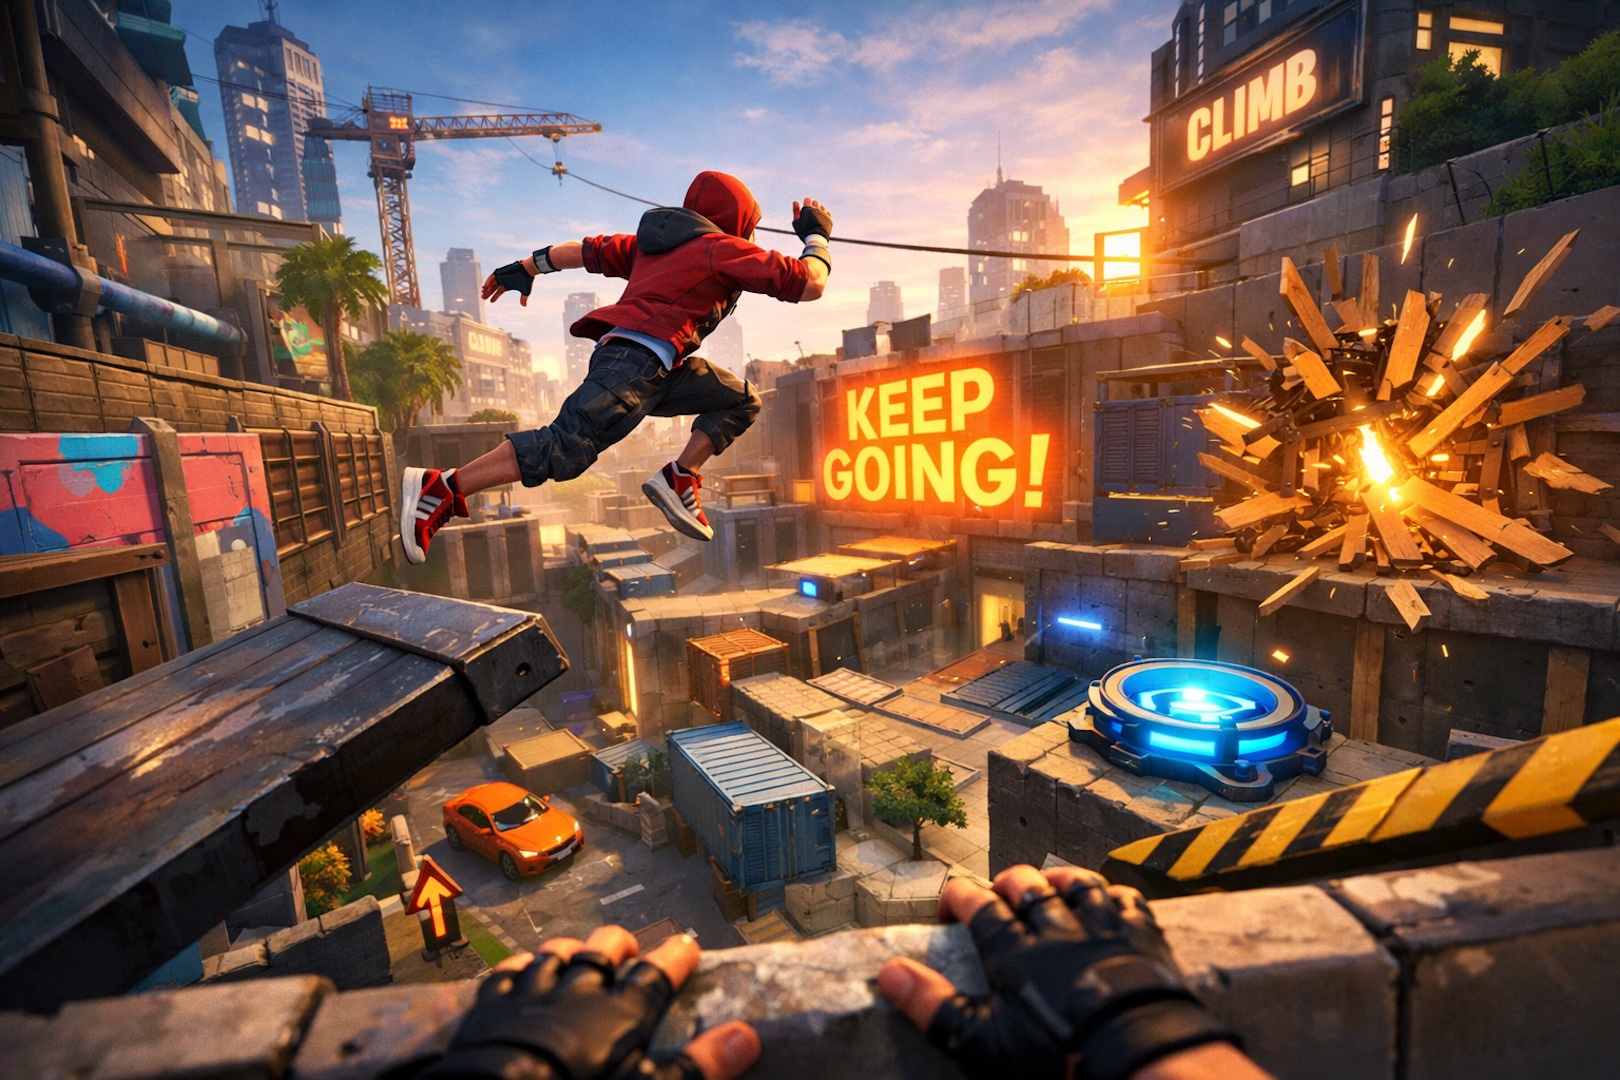
Welcome to The Ultimate UEFN Guide where you can learn how to transform your Fortnite gameplay with Unreal Editor! In this comprehensive guide, we’ll explore the exciting world of Unreal Editor Fortnite (UEFN), a powerful tool that allows you to create custom maps and game modes, taking your Fortnite experience to the next level. Whether you’re a seasoned Fortnite player or new to the game, UEFN offers an opportunity to unleash your creativity, build a loyal player-base, and even generate revenue through various channels.
Unreal Editor Fortnite is a specialized version of the widely-used Unreal Engine, specifically designed to work with Fortnite’s assets and mechanics. By harnessing the power of UEFN, you can design unique environments, gameplay mechanics, and immersive experiences that will set your creations apart in the Fortnite community.
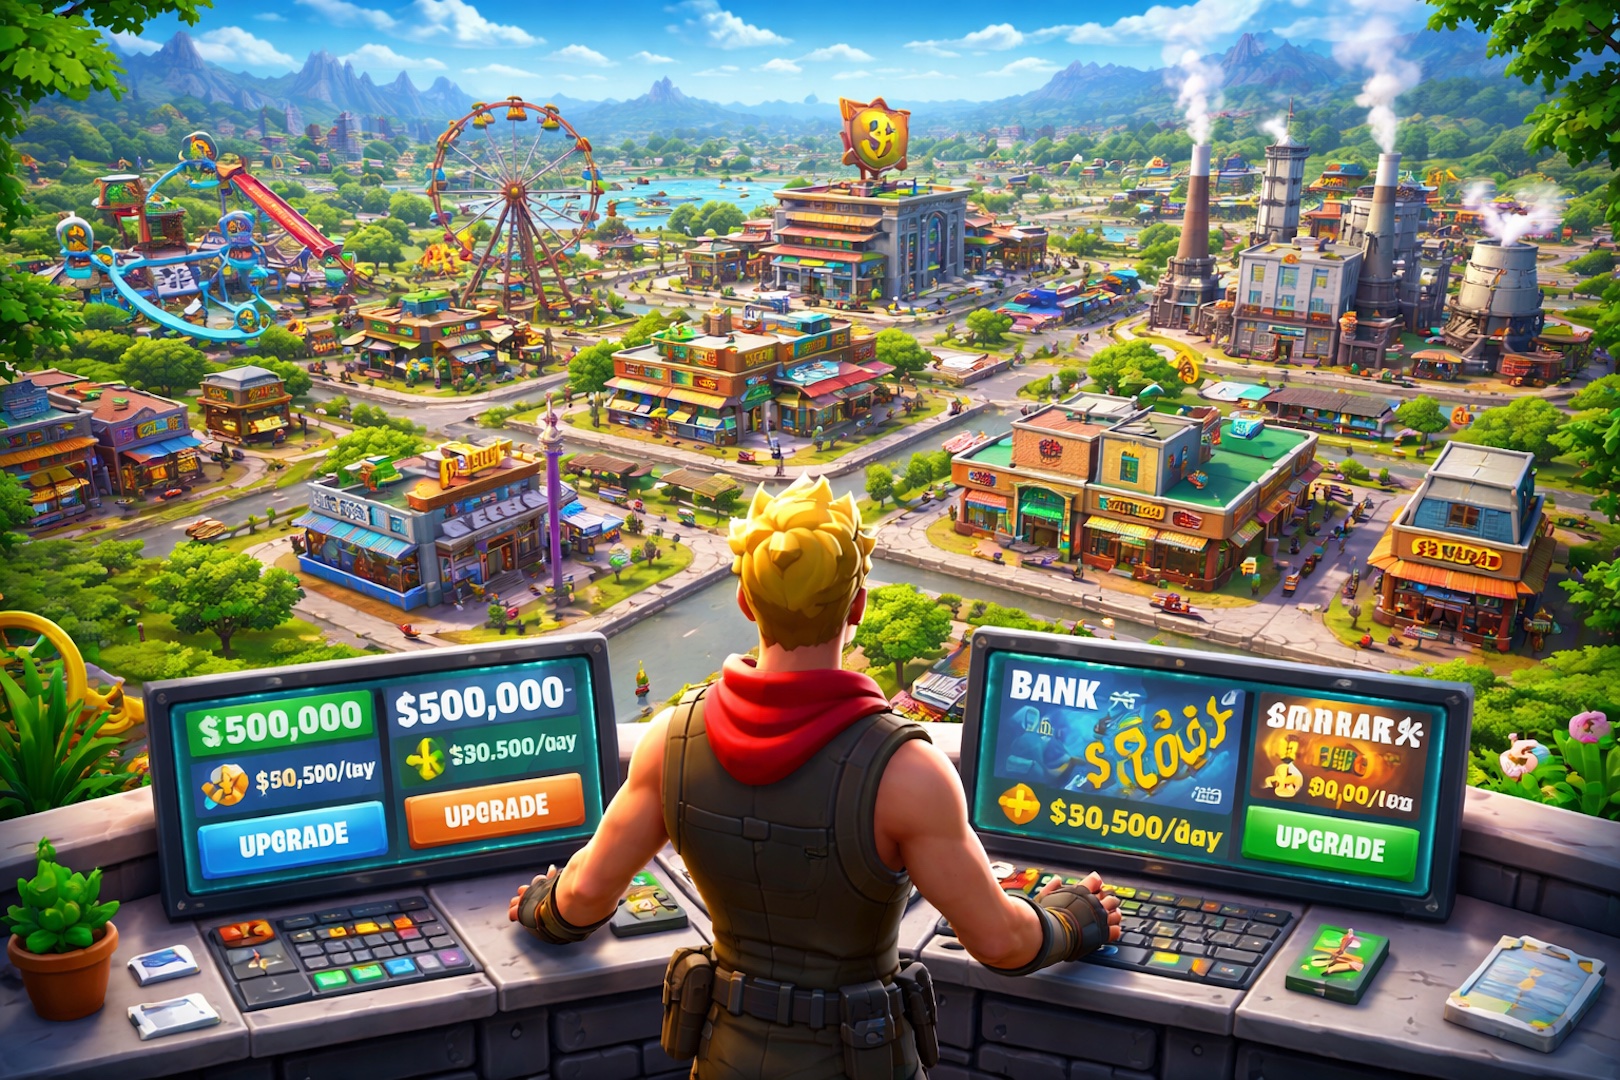
One of the key benefits of learning UEFN is the potential to earn revenue through the engagement payout program. By creating engaging custom maps and game modes, you can attract players and earn a share of the revenue generated from their participation. Additionally, using your affiliate code allows you to earn a commission on in-game purchases made by players you’ve referred, further enhancing your income potential.
Another significant advantage of mastering UEFN is building a dedicated player-base. As you create high-quality, captivating content, you’ll attract a loyal following of players who appreciate your work and eagerly anticipate your future creations. This not only fosters a sense of accomplishment but also opens doors to networking opportunities and collaborations within the Fortnite community.
Throughout this guide, we’ll cover everything from getting started with UEFN to mastering its advanced features. You’ll learn how to navigate the interface, create and edit terrain, manage assets, use lighting and materials, script gameplay mechanics with Blueprints, optimize performance, and much more. We’ll also provide troubleshooting tips, community resources, and inspiring examples of custom maps and game modes created using UEFN.
So, without further ado, let’s dive into the world of Unreal Editor Fortnite and discover how you can transform your Fortnite gameplay, build a thriving player-base, and potentially earn revenue like never before!
II. Getting Started with UEFN
A. System Requirements
Before you dive into Unreal Editor Fortnite (UEFN), it’s crucial to ensure that your system meets the necessary hardware and software requirements. The following list provides an overview of the minimum and recommended specifications for a smooth UEFN experience.
Minimum Requirements:
- OS: Windows 10 64-bit
- Processor: Quad-core Intel or AMD processor, 2.5 GHz or faster
- Memory: 8 GB RAM
- Graphics: NVIDIA GeForce 470 GTX or AMD Radeon 6870 HD series card or higher
- DirectX: Version 11
- Storage: 100 GB available space
Recommended Requirements:
- OS: Windows 10 64-bit
- Processor: Quad-core Intel or AMD processor, 3 GHz or faster
- Memory: 16 GB RAM
- Graphics: NVIDIA GeForce GTX 970 or AMD Radeon R9 390 or better
- DirectX: Version 11
- Storage: 200 GB available space
For more detailed information on hardware and software specifications, please refer to the Unreal Engine documentation.
B. Installation and Launching
To install and set up UEFN, follow these steps:
- Install the Epic Games Launcher: First, download and install the Epic Games Launcher if you haven’t already. You’ll need this to access UEFN.
- Sign in or create an Epic Games account: Launch the Epic Games Launcher and sign in with your Epic Games account. If you don’t have an account, you can create one for free.
- Install Unreal Editor: Navigate to the store and search for Unreal Editor. Click the “Install” button, and select a location for the installation. Wait for the download and installation process to complete.
- Access UEFN: Once Unreal Editor is installed, click on “Unreal Editor” again to launch it. This will open the Unreal Editor Home Page. There you will be able to see the news, get quick access to Unreal Editor Documentation, and more. Click “Done” to close the home page. Once you do that, the Project Browser window will open up. In the Project Browser, you can create a new project or open an existing one. You can choose an island template, work with a featured example, or browse through your project folder to find what you need. If on Windows, it is recommended to not use One Drive when creating a project.
- Launch your UEFN project: After creating or opening a project, the Unreal Editor will launch!
Now that you have UEFN installed and set up, you’re ready to start creating custom maps and game modes in Fortnite Creative! For more information on launching UEFN, please refer to the official documentation.
III. Navigating the Unreal Editor Interface (UEFN)
A. Interface Overview
The Unreal Editor interface in UEFN is designed to provide you with a streamlined and user-friendly environment for creating custom Fortnite maps and game modes. The interface is divided into several key areas, each with its own purpose and functionality:
- Menu Bar: Located at the top of the interface, the Menu Bar provides access to various editor functions, such as file operations, editing tools, and settings. Key menus include File, Edit, Window, and Help. Refer to the Menu Bar documentation for more information on each menu’s options.
- Toolbar: Positioned directly below the Menu Bar, the Toolbar contains buttons for frequently used functions, such as saving, playtesting, and accessing the Content Browser.
- Viewport: The main area in the center of the interface, the Viewport is where you’ll interact with your 3D scene, add and manipulate objects, and navigate your custom map or game mode.
- Modes Panel: Located on the left side of the interface, the Modes Panel allows you to switch between different editor modes, such as Place, Paint, and Landscape. Each mode offers a unique set of tools for specific editing tasks.
- Content Browser: Situated at the bottom of the interface, the Content Browser is your central hub for organizing and accessing your project’s assets, such as textures, models, and sounds.
- Details Panel: Found on the right side of the interface, the Details Panel displays the properties and settings of the currently selected object(s) in the Viewport.
- World Outliner: Also on the right side of the interface, the World Outliner provides a hierarchical list of all objects present in your scene, making it easy to find and select specific objects.
B. Essential Tools and Features
UEFN offers a wealth of tools and features to help you create engaging custom maps and game modes. Some of the main tools and features include:
- Fortnite Creative: A sandbox mode within Fortnite that provides access to a vast library of assets, prefabs, and devices, making it easy for you to create custom environments and game modes. Refer to the Fortnite Creative documentation for more information.
- Verse: A visual scripting system exclusive to UEFN that allows you to create custom gameplay mechanics, events, and interactions without needing to write code. Verse enables you to build complex and interactive experiences with ease.
- Level Editor: The primary tool for creating and editing your custom maps and game modes, the Level Editor provides a 3D workspace for adding and modifying objects, terrain, lighting, and more.
- Landscape Tools: A set of tools designed for creating realistic and visually appealing terrain. Landscape tools allow you to sculpt and paint landscapes, adjust materials, and create diverse environments for your custom maps.
- Material Editor: A powerful tool for designing and editing materials and shaders, allowing you to create visually stunning surfaces and effects for your custom Fortnite content.
These essential tools and features, along with numerous other options available in UEFN, empower you to create unique and engaging custom maps and game modes for Fortnite. As you become more familiar with the interface and tools, you’ll be able to harness the full potential of UEFN to transform your Fortnite gameplay experience.
IV. Terrain Creation and Editing in UEFN
Creating immersive and dynamic environments in UEFN begins with effective terrain creation and editing.
By using the suite of tools available in UEFN, you can design and shape the virtual world of your custom Fortnite game modes and maps, making them as simple or as complex as your creativity allows.
A. Landscape Tools
Landscape tools in UEFN are your primary avenue for generating terrains and natural-looking landscapes. These tools provide options to create expansive terrain areas, complete with rolling hills, steep cliffs, and sprawling flatlands. Here’s a simple guide on how to use them:
- Open the Modes Panel: Access this on the left side of the Unreal Editor interface and select the “Landscape” tab. This opens up the Landscape Tools.
- Set your parameters: Define the size and resolution of your landscape in the “New Landscape” section. Adjust components, quads, and sections as necessary.
- Generate Landscape: With your parameters set, click “Create” to bring your landscape to life in your scene.
Refer to the detailed Landscape Mode documentation for more intricate techniques and tips on creating and editing landscapes in UEFN.
B. Sculpting and Painting Techniques
- Terrain Heightmaps: One of the more sophisticated methods of terrain creation involves the use of heightmaps. Heightmaps are grayscale images where the various shades of gray represent different heights. With UEFN, you can import these heightmaps to create intricate landscapes that mimic real-world topographies. For a comprehensive guide on how to use height maps in UEFN, refer to this documentation.
- Terrain Lighting: Light plays a crucial role in establishing the mood and realism of your landscape. In UEFN, you can utilize a wide range of lighting tools to illuminate your terrain. From setting up a directional sunlight for broad daylight scenes to deploying atmospheric and ambient lights for more nuanced illumination, UEFN provides extensive options. For detailed instructions on lighting your environment, consult this documentation.
- Terrain Painting: Adding textures to your landscape brings vibrancy and realism to your Fortnite game environment. UEFN allows you to paint textures directly onto your terrain, allowing you to blend multiple textures and create varied environments. You can make lush grasslands, sandy deserts, rocky mountains, and more, simply by painting the terrain. For a detailed guide on how to use the Landscape Paint Mode, refer to this documentation.
By mastering these tools and techniques, you will be able to create an endless variety of landscapes for your Fortnite maps and game modes, enhancing gameplay and player engagement.
V. Managing Assets in UEFN
In UEFN, assets are integral building blocks that allow you to flesh out the look and feel of your custom Fortnite maps and game modes. These can be anything from characters, animations, and props to sound effects, music, and textures. But where can creators acquire these assets? There are several sources at your disposal:
- Fab.com: A digital content marketplace where creators can find a plethora of ready-to-use assets.
- Sketchfab.com: Known for its extensive 3D model library, Sketchfab can be a goldmine for creators looking for unique assets.
- Unreal Engine Marketplace: The official marketplace by Epic Games, packed with thousands of high-quality assets designed specifically for the Unreal Engine.
- Custom Creation: Ambitious creators can even design their own assets using 3D modeling software like Blender or Maya and then import them into UEFN.
A. Importing Custom Assets
Custom assets bring a unique touch to your Fortnite map or game mode, adding an element of originality that can set your creation apart. Here’s how you can import custom assets into UEFN:
- Prepare Your Asset: Ensure your custom asset is in a format compatible with Unreal Engine, such as .FBX or .OBJ for 3D models. Also, make sure your asset file includes all necessary elements, such as textures or animations.
- Navigate to the Content Browser: Once in the Unreal Editor interface, locate the Content Browser at the bottom of the screen.
- Import the Asset: In the Content Browser, click the “Import” button and select your asset file. You’ll be presented with a series of import options. Adjust these according to your needs, and then click “Import”.
- Use the Asset: After importing, your asset will appear in the Content Browser and can be dragged into your scene or accessed through other tools within UEFN.
For more detailed guidance on importing custom assets, consult the Unreal Editor for Fortnite documentation.
By efficiently managing and utilizing assets, you can shape your custom Fortnite world to match your creative vision, contributing to more engaging and unique gameplay experiences.
B. Organizing and Managing Assets
As you accumulate assets for your custom Fortnite maps and modes, proper organization and management become essential for maintaining an efficient workflow. Here are some best practices for organizing and managing assets within the UEFN:
- Use Folders: Use the folder structure in the Content Browser to group related assets. You might want to create separate folders for different types of assets (e.g., models, textures, animations) or for assets used in specific levels or areas of your game.
- Naming Conventions: Establish a clear and consistent naming convention for your assets. This could include information about the asset type, where it’s used, and any important attributes. Consistent naming helps you quickly identify what each asset is for, even just by looking at its name.
- Use Tags: Tags can be added to assets in Unreal Engine, allowing you to assign
additional information to assets and making them easier to find through searches. - Asset Versioning: If you’re making changes to an asset but want to keep the original version just in case, consider creating a new version of the asset instead of overwriting the existing one. This allows you to maintain a history of changes and easily revert to an earlier version if needed.
- Regularly Review and Clean Up: As your project progresses, you might accumulate assets that are no longer needed. Regularly review your asset library and remove or archive unused assets to keep your project clean and your loading times short.
- Use Collections: Unreal Engine allows you to create ‘collections’ — essentially, virtual folders that can contain any assortment of assets. This allows you to gather assets based on any criteria you want, without changing their actual location in the Content Browser.
For more comprehensive guidance on organizing and managing assets, refer to the Unreal Engine documentation. Proper asset management not only maintains your efficiency as a creator but also allows you to handle complex projects more easily, keeping your creative process smooth and hassle-free.
VI. Lighting, Materials, and Shaders
Lighting, materials, and shaders collectively shape the visual aesthetics of your custom Fortnite game modes and maps in UEFN. They play pivotal roles in creating realism, setting the mood, and enhancing the overall gaming experience.
A. Lighting Basics
Lighting in UEFN is a powerful tool, and understanding its fundamentals can greatly improve the visual quality of your projects. Here are the primary types of lights and their properties you’ll be working with:
- Directional Light: This simulates sunlight and is typically used as the primary light source in outdoor scenes. It’s infinitely distant and affects all objects in the scene equally.
- Point Light: This simulates a light bulb by emitting light uniformly in all directions. It’s useful for lamps or other localized light sources.
- Spot Light: This simulates a focused beam of light, such as a flashlight or a spotlight on a stage.
- Sky Light: This light source captures the distant parts of your map and applies that light to the scene as ambient illumination. It is typically used in combination with a Directional Light to simulate complex outdoor lighting.
Each light type has various properties you can adjust, including color, intensity, and falloff distance, allowing you to tailor the lighting to your specific needs.
[Tutorial] Learn Dynamic Lighting in Fortnite Creative
B. Creating and Editing Materials and Shaders
Materials and shaders in UEFN define how surfaces appear under different lighting conditions, allowing you to create everything from realistic metal and glass to stylized, cartoonish textures. Here’s how you can create and edit materials and shaders:
- Create a New Material: In the Content Browser, click the “Create” button and select “Material”. This opens up the Material Editor.
- Build Your Material: Using nodes, you can define various properties of your material, such as its color, roughness, and how it responds to light. Common nodes include textures, constants, and various mathematical operations.
- Apply Your Material: Once you’re happy with your material, you can apply it to any mesh in your scene. Simply drag the material onto the mesh in the viewport, or assign it in the mesh’s properties in the details panel.
Mastering these elements will empower you to bring your Fortnite worlds to life, create engaging atmospheres, and stand out in the Fortnite Creative community.
VII. Performance Optimization and Tips
To ensure your UEFN Fortnite maps and game modes offer smooth and enjoyable gameplay experiences, performance optimization is key. It’s a balancing act between achieving your desired visual aesthetics and ensuring the game runs smoothly on a wide range of hardware.
A. Optimization Best Practices
Here are some general tips and best practices for optimizing your projects in UEFN:
1. Asset Complexity: High-polygon models, high-resolution textures, and complex shaders can impact performance. Where possible, optimize these assets to balance quality and performance.
2. Use LODs: Level of Detail (LOD) models reduce the complexity of 3D models based on their distance from the camera, significantly improving performance without a noticeable loss of quality.
3. Optimize Lighting: Unreal’s lighting systems can be resource-intensive. Make use of baked lighting where possible, and try to limit the use of dynamic lighting.
4. Use Culling Techniques: Techniques like occlusion culling (which prevents rendering of objects not currently seen by the camera) can significantly boost performance.
B. Performance Considerations
In addition to the above best practices, it’s essential to consider the following performance factors:
1. Draw Calls: Each object in your scene requires a draw call. Too many draw calls can slow down rendering, so it’s important to keep this number in check. Techniques such as mesh instancing or combining multiple small meshes into a single larger one can help reduce draw calls.
2. LODs: Using Level of Detail (LOD) models can greatly improve performance, particularly in complex scenes. Unreal Engine automatically generates LODs for static meshes, but you can also create them manually for more control.
3. Occlusion Culling: Unreal Engine automatically performs occlusion culling to prevent rendering objects not visible to the camera, which can help improve performance.
For more detailed information on these topics, refer to the following Unreal Engine documentation:
2. Optimizing Content and Features
Balancing performance and aesthetics is a common challenge in game development, but by following these best practices and performance considerations, you can create stunning UEFN game modes that run smoothly and keep players coming back for more.
[Guide] Best Practices for Developing a Map in UEFN
VIII. Troubleshooting and Community Support
Every creative endeavor may run into obstacles, and working with UEFN is no exception. However, the UEFN community is vast and full of experts ready to help tackle any challenges you may encounter.
A. Common Issues and Solutions
Here are solutions to some common issues UEFN users have faced:
- Working with Levels in UEFN: User Kzoink explains on the EDC Forums that while there’s a Level Instance and Level Loader device, they’re not available in UEFN and aren’t technically levels. However, you can create a playset from a level by selecting “Is Playset in the World Settings for a level and choosing the type “Prefab.” Although it’s important to note that these can only be worked with at edit time, not runtime. Further developments are expected in this area soon.
- Error [16] Found Disallowed Object Type: As [Epic] Flak explains to user Valentino0527 on the EDC Forums, when faced with this error, the output log can provide critical information. It will list all files with invalid content and the name of the invalid content. If the asset name appears as gibberish, you can search for the unique string in the Outliner’s search box to identify the problematic actor.
B. Community Resources and Tutorials
The UEFN community has developed a range of resources to assist you in your creative journey. Here are some recommended sources for further learning and support:
- The Epic Developer Community (EDC): An active community forum where you can ask questions, share your work, and learn from other UEFN creators.
- The Creative Blok Website : A site dedicated to helping Fortnite creators, offering guides, tutorials, and other resources.
- The Creative Blok Discord : Connect directly with other Fortnite creators for real-time help and discussions.
- Fortnite Creative & UEFN on Quora : A space where experts and enthusiasts share insights and experiences about Fortnite Creative and UEFN.
Remember, the best way to learn is through practice and engaging with the community. Don’t hesitate to ask for help or share your achievements!
IX. Inspiring UEFN Examples and Tutorials
Every creator needs inspiration and a sense of what’s possible to take their work to the next level. Here, we’ve curated some shining examples of custom maps and game modes developed using UEFN. Plus, we’ve handpicked some practical tutorials that can guide you through creating specific types of custom content in Fortnite.
A. Showcasing Custom Maps and Game Modes
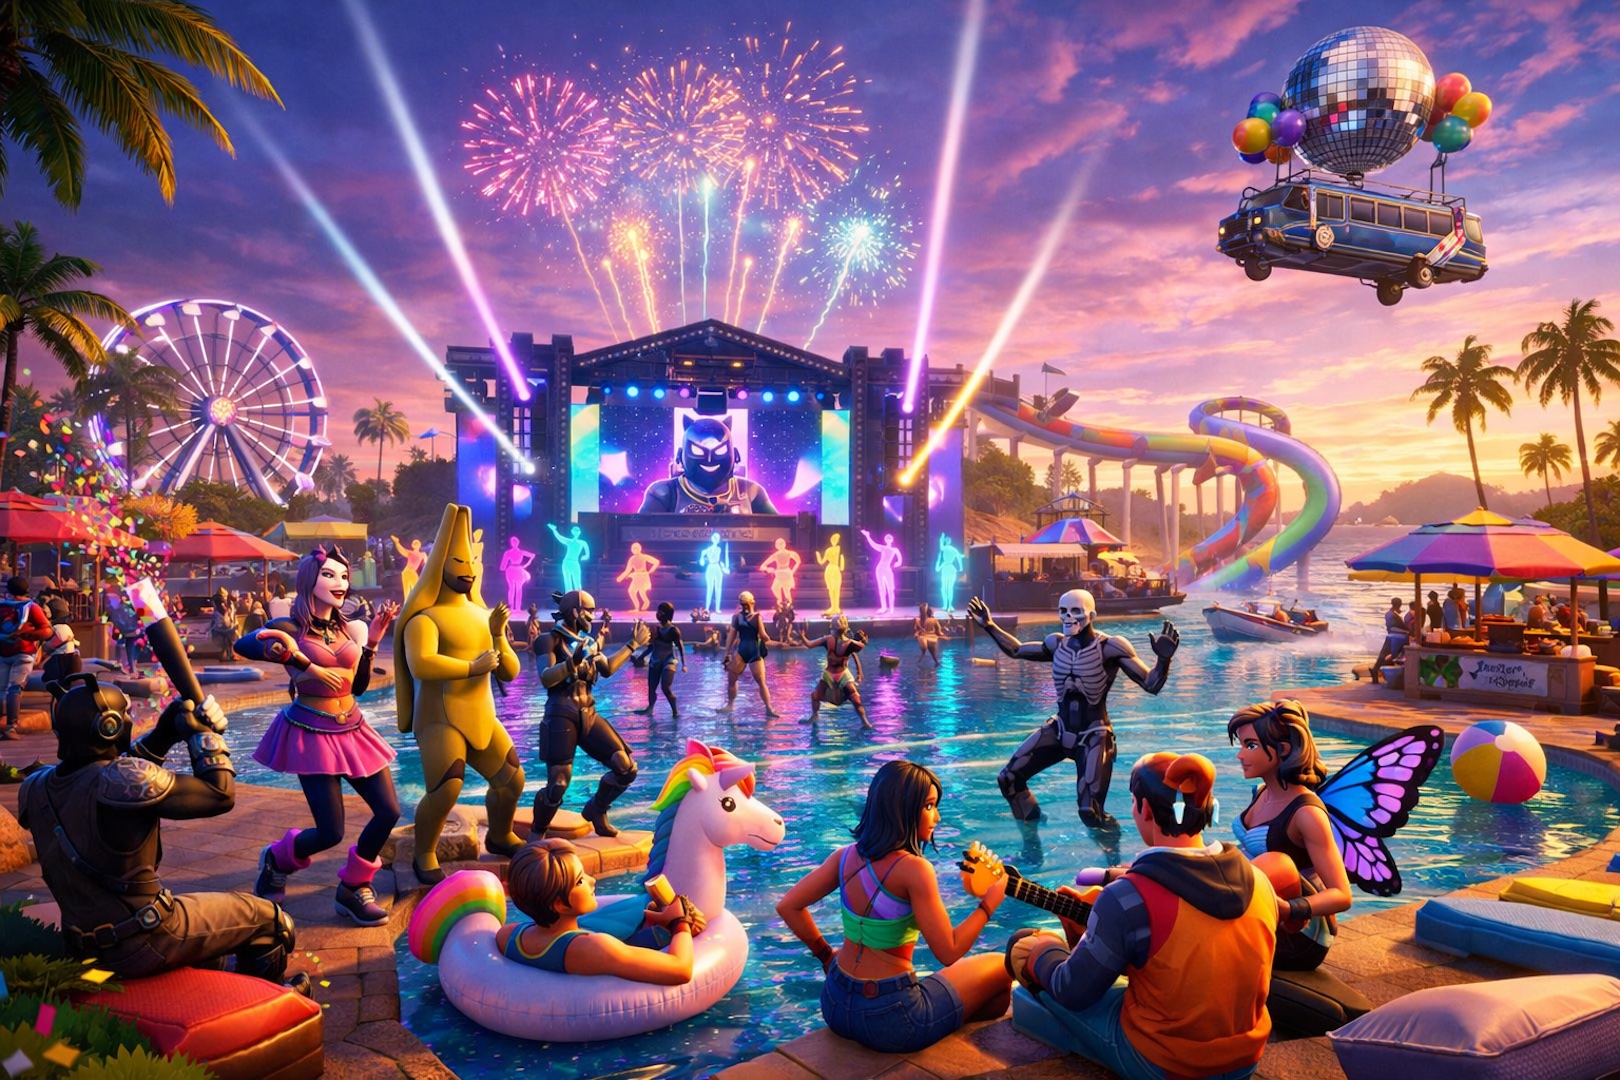
Check out these successful custom maps and game modes designed using UEFN. These creators have pushed the limits of creativity and functionality, making for some truly engaging and immersive gameplay experiences.
- Summer Crash Combat by Team Prodigy: Dive into this vibrant combat map and experience the thrill of Fortnite like never before.
- Pyramid Tycoon: A Tycoon simulator with cute pets and underground catacombs. Featured in Epic Picks January 2026!
- Operation Sandstorm: Immerse yourself in this captivating operation filled with exciting missions and vivid environments.
B. Step-by-Step Tutorials
Now that you’ve seen what’s possible, it’s time to start creating. These step-by-step tutorials on the EDC will guide you through creating your very own custom content in Fortnite:
- How to submit a Feature Worthy Map: Learn what it takes to make a map that’s worthy of being featured in Fortnite. This tutorial provides tips and guidelines to ensure your creations meet Epic’s criteria.
- How to create a Timed Capture Zone Map: Follow this guide to create a map that challenges players to capture zones within a specified time. You’ll learn to use Event Binding, a powerful tool for defining gameplay interactions in UEFN.
- How to Create Dynamic Lighting: In this tutorial, you’ll learn how to create atmospheric lighting effects that can add a whole new level of immersion to your Fortnite creations.
Armed with these resources, you’re ready to bring your unique Fortnite experiences to life. If you are looking for more tutorials, join The Creative Blok Discord to search through our library of UEFN and Fortnite Creative Tutorials!
X. Building a Player-base and Map Promotion
A. How to Build a Player-base
Building a dedicated player-base is key to the success of your custom maps and game modes. Engage with the Fortnite community and create high-quality, innovative content to attract players. Participating in online forums, creator groups, and social media platforms can also increase visibility and foster a loyal following. Listening to player feedback and iterating on your designs will help retain your audience and encourage word-of-mouth recommendations.
B. How to Promote Your Map
Promoting your map effectively is crucial to attract new players and maintain the interest of your existing player-base. There are multiple ways to promote your map:
1. Social Media Promotion: Platforms like YouTube, TikTok, Instagram, and Twitter offer ample opportunity to showcase your work. Teaser videos, playthroughs, screenshots, or even simple status updates can generate interest and attract gamers to your creation.
2. Creating Video Trailers: A well-made trailer is a powerful promotional tool. By highlighting your island’s best features and giving a sneak peek into the gameplay, you can create buzz and attract potential players. Showcasing unique aspects of your creation can attract undecided players and generate excitement.
3. Sharing in Creative Communities: Active participation in online creative communities can help spread the word about your map. Share your creation in forums, groups, and communities related to Fortnite and game design.
[Share] Share your creations in our Subreddit or Discord:
The Creative Blok Subreddit | The Creative Blok Discord
4. Print and Physical Media Advertising: With Epic’s approval, you can also leverage print and physical media advertising for promoting your Fortnite Creative map. This could include distributing flyers or other physical promotional items. But remember, as per clause 3.2.5 of the Epic Games policy, such activities require express and prior consent from Epic Games. Once approved, you have an additional channel to reach out to an audience that might not be active online.
[Tutorial] Learn: 3 Secret Ways to Promote your Map!
Remember, the key to successful promotion lies in consistency and engagement. Regularly share updates, engage with your audience, and continually seek ways to improve and promote your map.
XI. What’s New in UEFN (2024 Update)
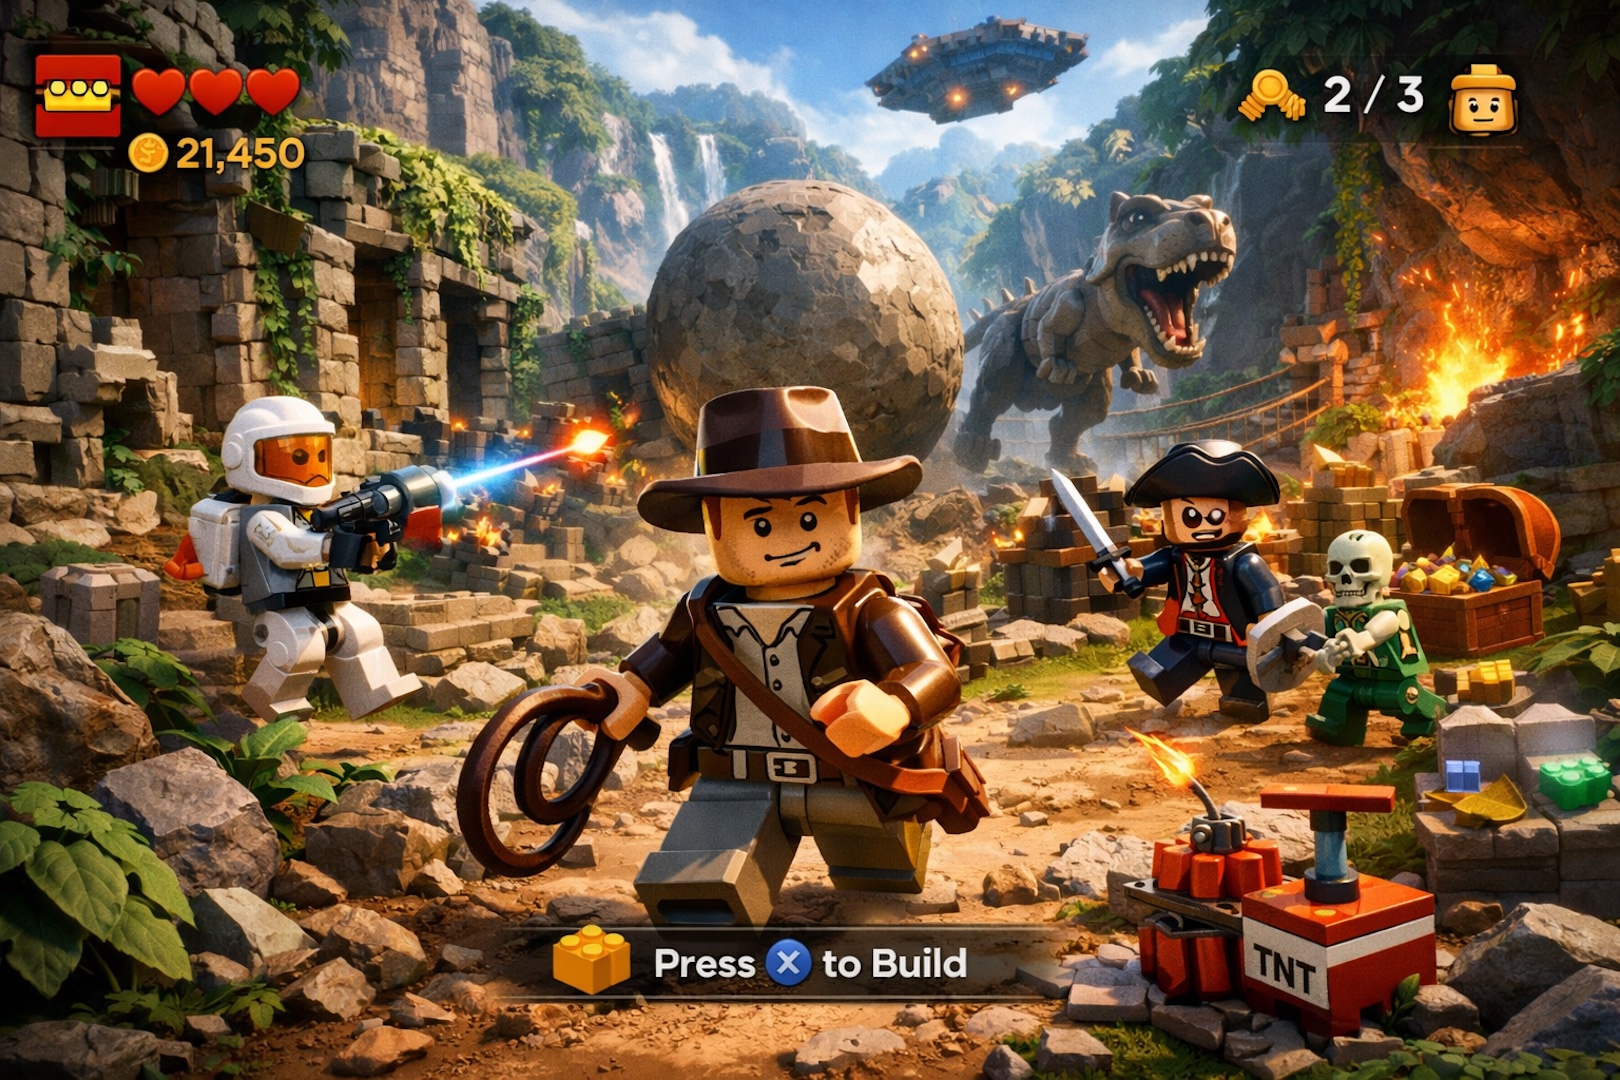
A. LEGO Integration in UEFN (March 2024 Update)
In early 2024, Epic Games introduced LEGO assets and gameplay support directly into UEFN, allowing creators to design interactive LEGO-themed experiences within Fortnite. These assets include stylized bricks, minifigs, and game-ready mechanics for physics, building, and destructible environments.
Tip: Use LEGO-compatible templates to speed up map development. Find them in the “LEGO Starter Kit” section of the UEFN Content Browser.
B. MetaHuman Integration: Lifelike Characters in Fortnite
Another major update was the introduction of MetaHuman support, enabling creators to import and control hyper-realistic digital characters directly in Fortnite maps. These characters can now be used to add storytelling depth and cinematic cutscenes.
🎥 Use Case: Combine MetaHumans with Verse scripts to trigger animations or dialogue based on player interaction.
XII. Getting Advanced with Verse Scripting
A. What is Verse?
Verse is the powerful scripting language native to UEFN. It allows you to control gameplay logic, create custom events, spawn mechanics, timers, and more — all using readable code that runs server-side.
Example:
if (ItemCount > 5):
StartRound()This simple Verse script checks if the number of items in the session is greater than five. If so, it triggers the EndRound() function, which could be used to end the round, launch a timer, or activate certain gameplay mechanics. This approach ensures that game events only occur once a sufficient number of items are collected, making it ideal for team-based or competitive experiences.
B. Practical Tutorials Using Verse
- Create a Dynamic Capture-the-Flag System
- Spawn Power-ups After Timer Countdown
- Use Verse to Animate NPC Dialogue
Watch This: Advanced UEFN Logic with Verse (YouTube)
XIII. Conclusion
As we reach the end of this comprehensive guide, let’s take a moment to reflect on the key points we’ve covered. We started by understanding the basics of the Unreal Editor Fortnite (UEFN), and its potential for creators. We explored the process of getting started with UEFN, detailing its system requirements and installation process. Then we navigated the interface, shedding light on the essential tools and features provided by UEFN.
As you delve deeper into the world of UEFN, we’ve covered the various aspects of terrain creation and editing, touched upon asset management, and examined lighting, materials, and shaders. Performance optimization is an essential skill for any creator, and we’ve given you the foundational knowledge for that. We also offered some solutions to common problems you might face and pointed you towards community resources for further support.
The beauty of UEFN lies in its versatility and the creative freedom it provides. We’ve highlighted some inspiring examples of custom maps and game modes made possible with UEFN and also provided you with step-by-step tutorials to get your hands dirty.
But remember, this is just the tip of the iceberg. The real magic happens when you start experimenting and creating your own custom maps and game modes using UEFN. We encourage you to leverage the powerful features of UEFN, bring your creative vision to life, and perhaps even redefine the Fortnite experience for millions of players worldwide. There is no limit to what you can achieve with UEFN – jump in and discover!